Importing a Gradle project into IntelliJ
Well, this should be easy, but as usual in practical software
engineering it often is not. So, here is my recipe for
importing gradle projects into IntelliJ.
- First, ensure that the project itself is well behaved:
issue gradle test in a shell, and ensure that all
tests pass.
-
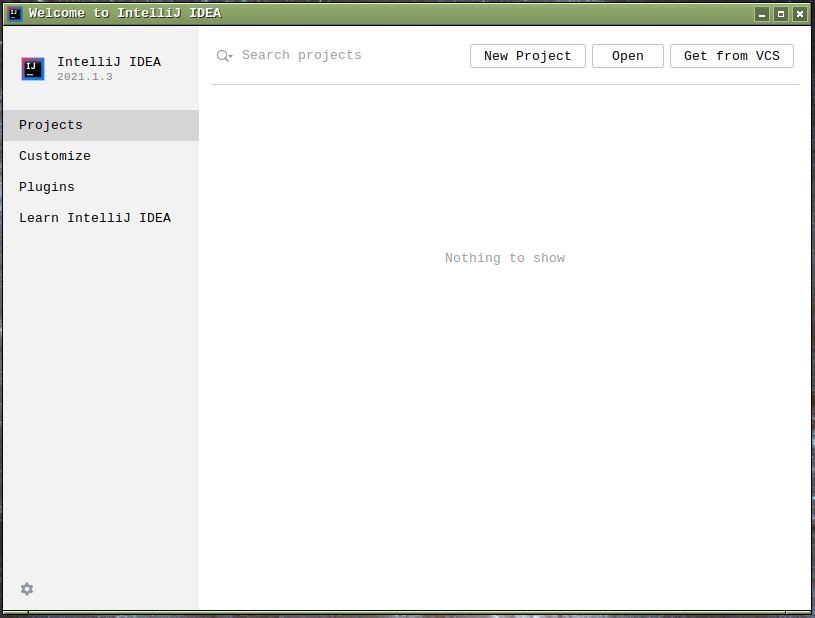
On the welcome screen, choose 'Open'
-
... and browse to the root folder of the project, that
you want to import (The example here is a project named
'hotciv'.) There should be small black box overlaid the
folder, showing that IntelliJ knows it is gradle project.
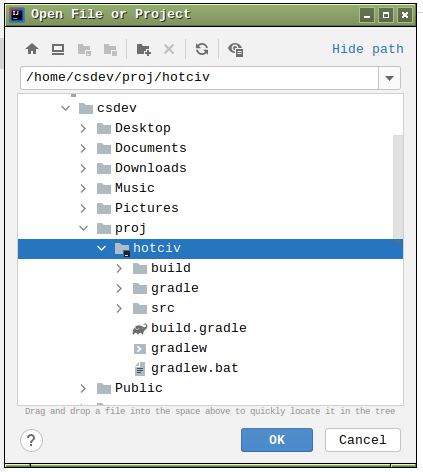 and click 'OK'
-
IntelliJ will now import it - as this involves retriving
all dependencies and possibly gradle itself from
repositories on the internet, this can take quite a while,
a minute or so.
-
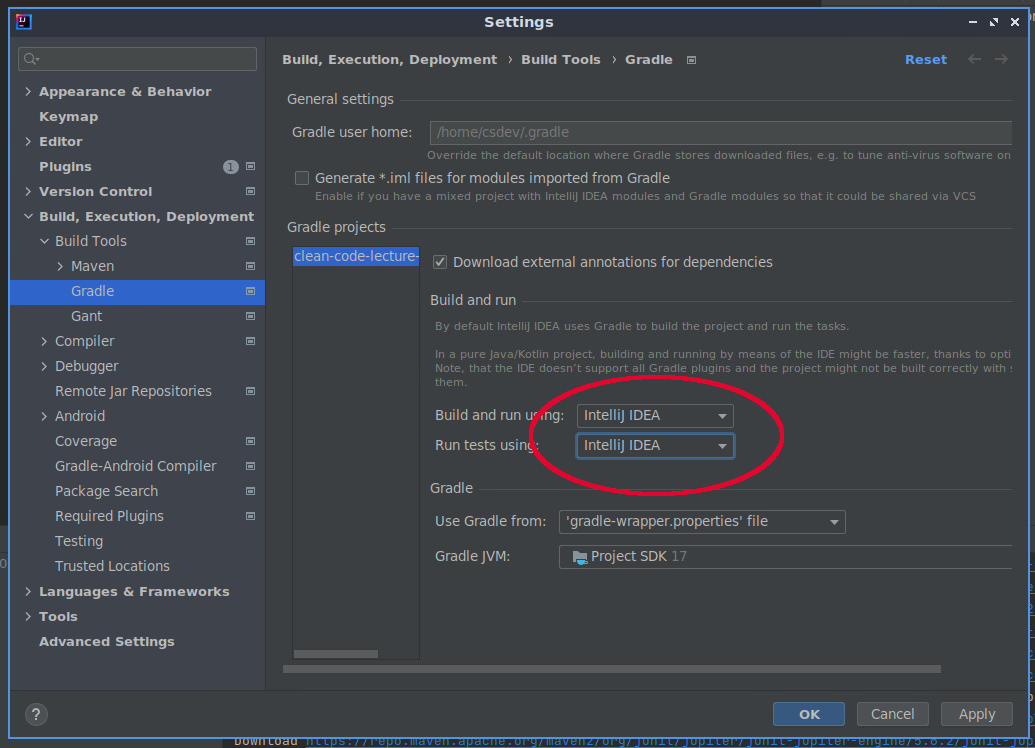
IntelliJ can build and run Junit tests either using Gradle or
its own built-in runner. The former is the default, but I
prefer using IntelliJ's as it provides more detailed
information about which tests are passing. As much in SE, it
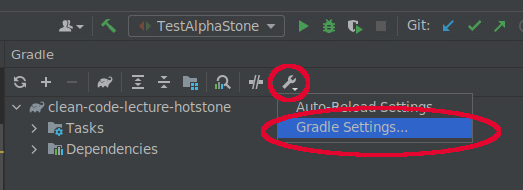
is a matter of taste, but you can change the setting by
clicking the gradle pane:
 and then click the wrench icon -> Gradle Settings ...
 and finally change the 'build and run' settings:
-
Litmus test: In the Project pane, browse to the
src/test folder (below it is barely visible), right-click it,
and choose 'Run All Tests'
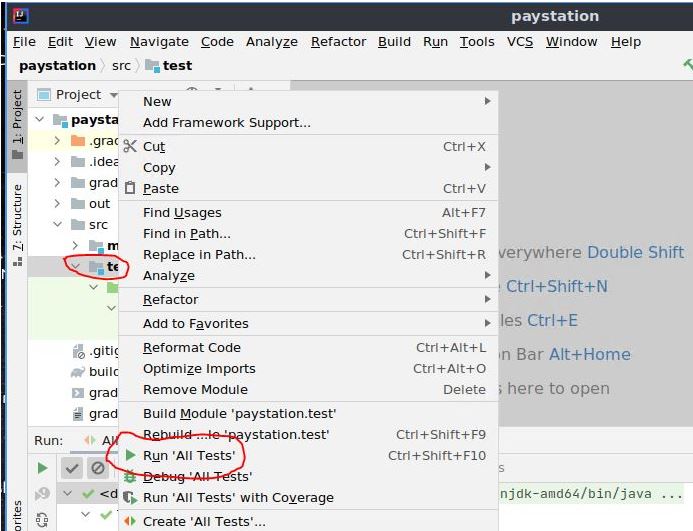 Now, all tests should be run correctly.
Panic Button
The standard answer in software engineering when systems
behave weird is reboot. I have had to reboot intellij
gradle projects quite a few times. So here is a recipe.
-
Close the project in IntelliJ.
-
On the Welcome screen, click the 'X' / delete icon, next to
the project name. Ensure that the project is gone from the
Welcome screen.
-
Open a shell, go to the project root folder, and remove folder
'.idea' and possible file '(project).iml', to ensure all
IntelliJ files are deleted.
-
Now, repeat the import procedure for the project.
Henrik Bærbak Christensen - Aarhus University